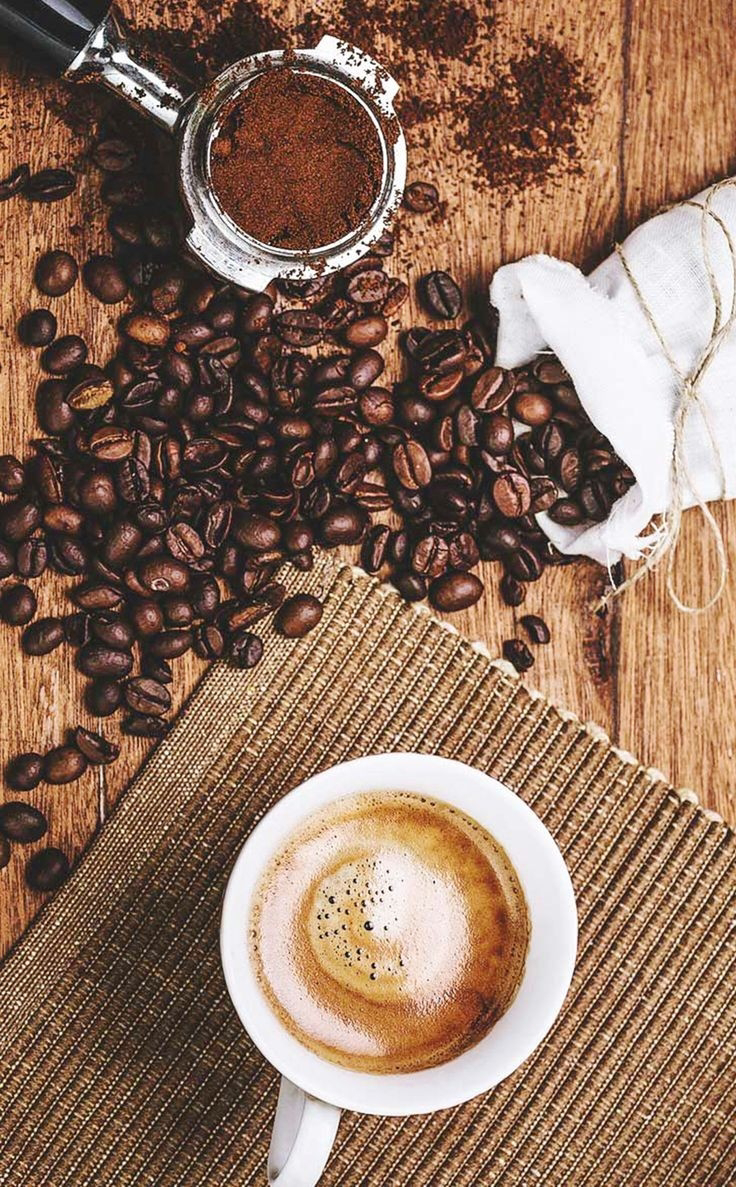
Pour-over technique
The Art of Pour-Over Coffee: A Step-by-Step Guide to Mastering the Technique
Introduction:
Pour-over coffee, with its elegant simplicity and emphasis on precision, has gained popularity among coffee connoisseurs for its ability to extract nuanced flavors from coffee beans. In this comprehensive guide, we will walk you through the step-by-step process of mastering the pour-over technique, allowing you to enjoy a rich and aromatic cup of coffee.
Equipment Needed:
Pour-over dripper (e.g., Hario V60, Chemex, Kalita Wave)
Coffee beans (freshly ground)
Filtered water
Gooseneck kettle
Coffee scale
Timer
Coffee mug or server
Paper filter (if applicable)
Step 1: Choose Your Pour-Over Dripper
Different pour-over drippers offer unique characteristics, affecting the extraction process and the final taste of your coffee. Experiment with various drippers to find the one that suits your preferences. Common choices include the Hario V60 for a faster flow rate, the Chemex for a clean cup, and the Kalita Wave for a more forgiving brew.
Step 2: Heat Your Water
Use a gooseneck kettle to heat water to the desired temperature, typically between 195°F to 205°F (90°C to 96°C). A consistent water temperature is crucial for achieving optimal flavor extraction.
Step 3: Prepare Your Coffee Beans
Grind your coffee beans to a medium-coarse consistency, similar to sea salt. The grind size plays a key role in controlling the extraction time and overall flavor profile.
Step 4: Rinse the Paper Filter
If your pour-over dripper uses a paper filter, place it in the dripper and pour hot water through it to rinse away any papery taste. Discard the rinse water.
Step 5: Add Coffee Grounds
Place the rinsed filter and pour-over dripper over your coffee mug or server. Add the freshly ground coffee, ensuring an even bed of grounds.
Step 6: Bloom the Coffee
Start the timer and pour a small amount of hot water over the coffee grounds, saturating them evenly. Allow the coffee to bloom for about 30 seconds. This degassing process enhances flavor extraction.
Step 7: Begin the Pour
Start pouring water in a slow, controlled circular motion, moving from the center outward. Maintain a consistent rate to ensure an even extraction.
Step 8: Control the Pour Rate
Adjust the pour rate based on your desired brew time. A general guideline is to complete the pour in 2 to 4 minutes, depending on your preferences and the coffee bean characteristics.
Step 9: Watch the Coffee Bed
Keep an eye on the coffee bed. It should stay level throughout the brewing process. If the bed starts to tilt, adjust your pouring technique to maintain an even extraction.
Step 10: Let It Drip
Once you've reached your desired brew time and volume, let the remaining water drip through the coffee bed. This ensures that all the flavors are extracted.
Step 11: Enjoy Your Pour-Over Coffee
Remove the pour-over dripper and discard the used coffee grounds. Your meticulously crafted pour-over coffee is now ready to be enjoyed. Take a moment to appreciate the aroma and complex flavors of your brew.
Tips for Perfecting Your Pour-Over Technique:
Experiment with Ratios: Adjust the coffee-to-water ratio to find the strength you prefer.
Grind Consistency: Use a consistent grind size to maintain control over extraction.
Water Quality: Use clean, filtered water to avoid unwanted flavors.
Practice Patience: Mastering the pour-over technique takes practice. Experiment with different variables to refine your method.
Conclusion:
The pour-over technique is more than just a brewing method; it's an art form that allows you to tailor your coffee to your taste preferences. By understanding the nuances of water flow, grind size, and pour rate, you can unlock a world of flavors in every cup. Embrace the pour-over process, and let the ritual of brewing elevate your coffee experience to new heights.


Comments
Post a Comment